
NOTE: Please see the latest tutorial how to run Imixs-Workflow with Jakarta EE.
In the first part of my tutorial I explained how to define a business model using the Imixs Workflow Modeler. The second part describes how to setup the Java EE Application server. Now its time to complete the tutorial and deploy the workflow application!
As you have seen I spent much time in explaining the modeling process and the server configuration. The reason is that the deployment of the Imixs Workflow application is really easy and did not take much time. I will explain two szenarious. First I will show how to dpeloy the Imixs Workflow Sample application. Next I explain how to checkout the sources and use the Sample Application as a scaffolder to build your own application.
Download and deploy the Imixs Sample Application
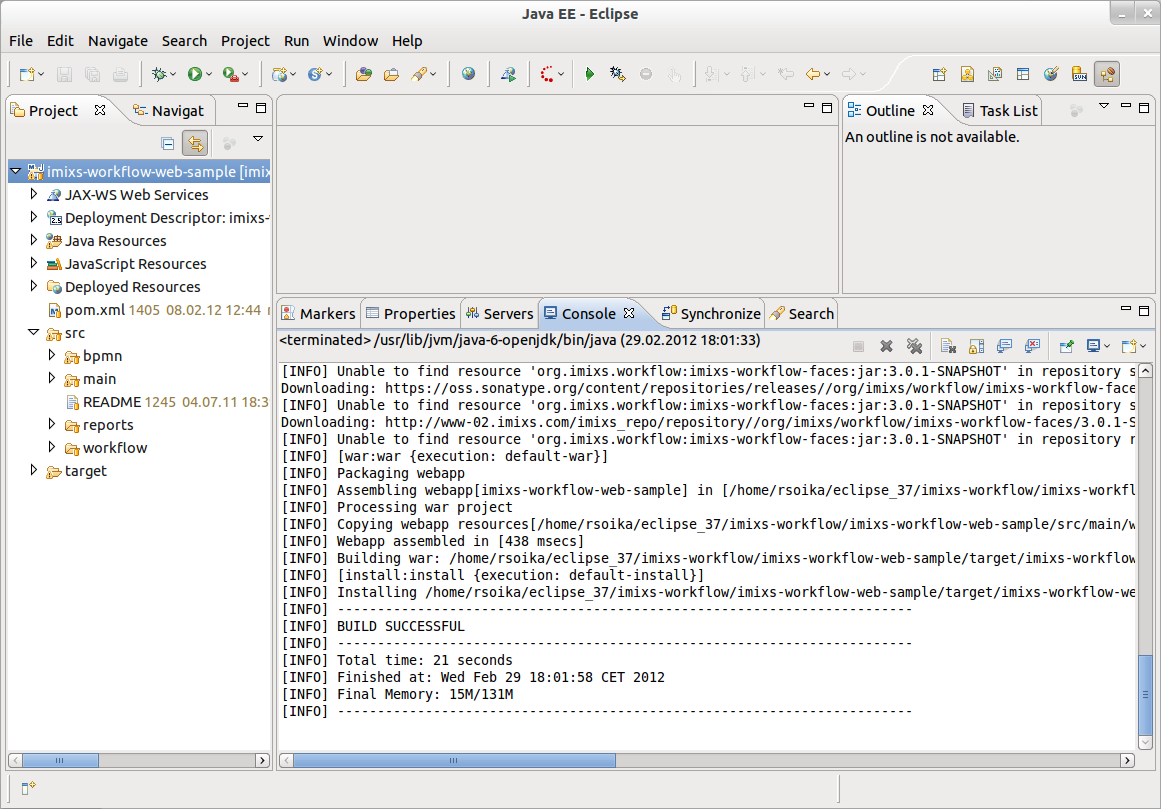
You can download the Imixs Sample application from GitHub. There you will also find the workflow model we talked about in Part I. of the tutorial. The Imixs Sample application is provided as WAR-File. You can build the war file with maven:
mvn clean install
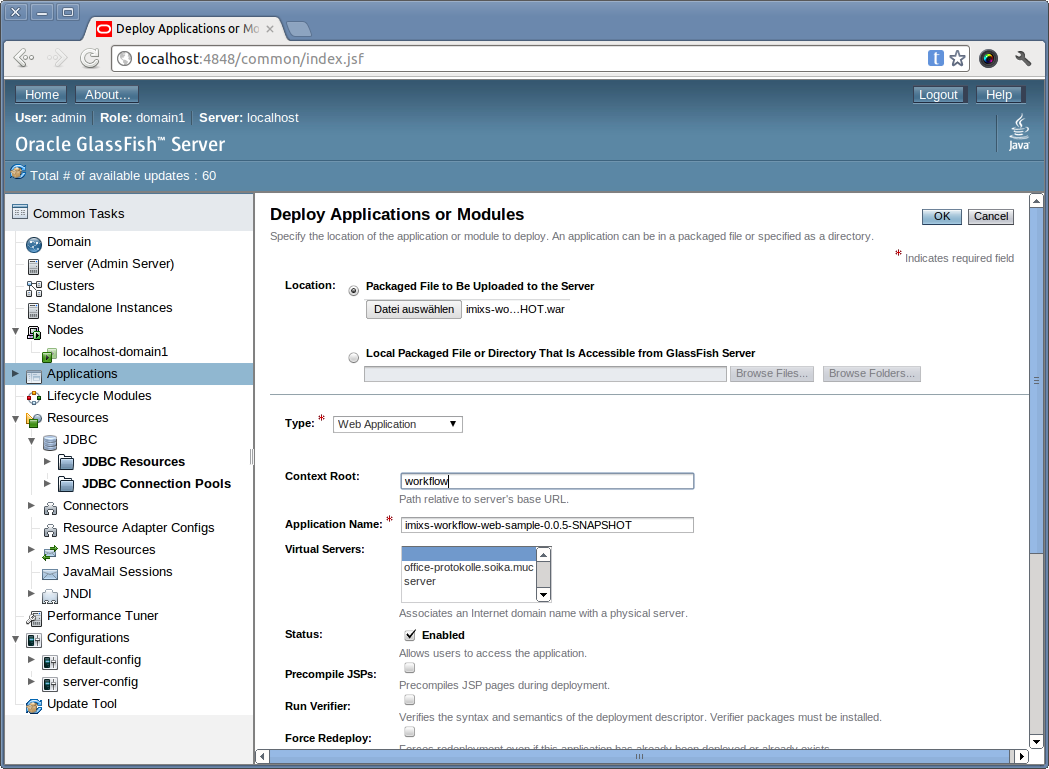
When you have setup you GlassFish server as explained in Part II. you can deploy WAR-File easily.
- start admin console -> http://localhost:4848/asadmin
- navigate to Application Server > Applications
- click “deploy” to deploy the sample application.
- with ‘choose file’ you can select you WAR-File downloaded before
- In the field ‘context root’ type in the root context ‘workflow’
- finally click on ‘OK’
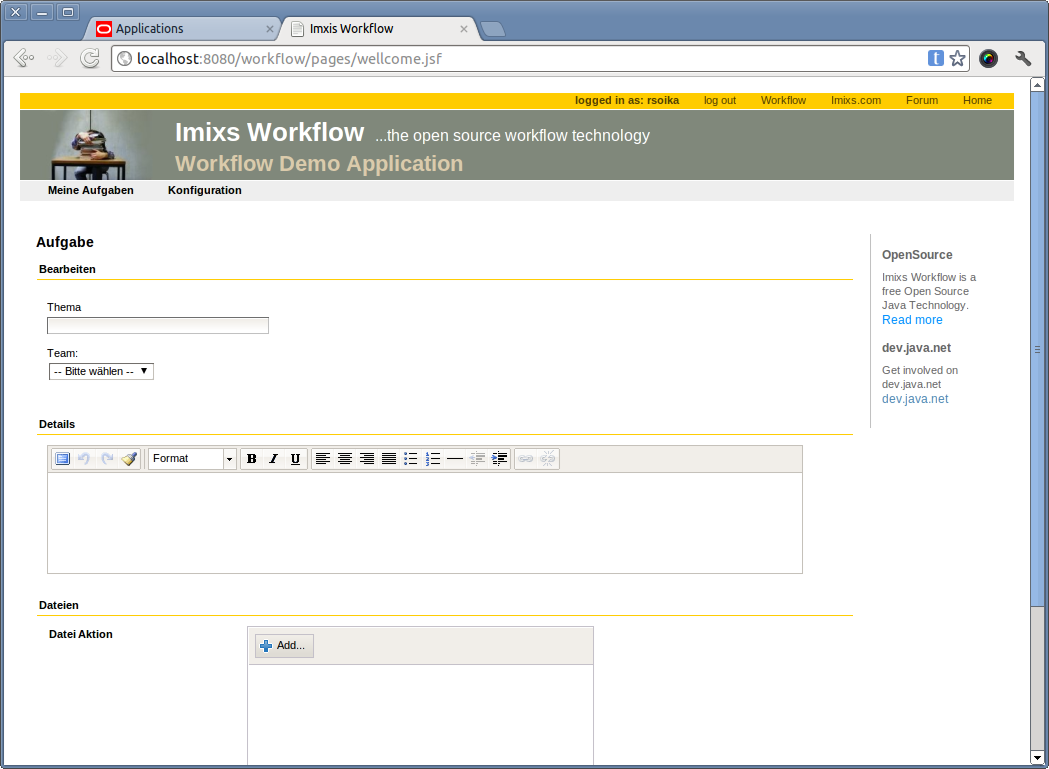
The Application is now deployed and available by the URL
http://localhost:8080/workflow/
Upload the workflow model
After you have deployed your application you can synchronize your workflow model created in Part I. of this tutorial. From the Imixs Workflow Modeler open the model file ‘ticket.ixm’ and verify the Web Service Location. The location should point to your server:
http://localhost:8080/workflow/rest/model
You can verify the URL and authentication from your web browser.
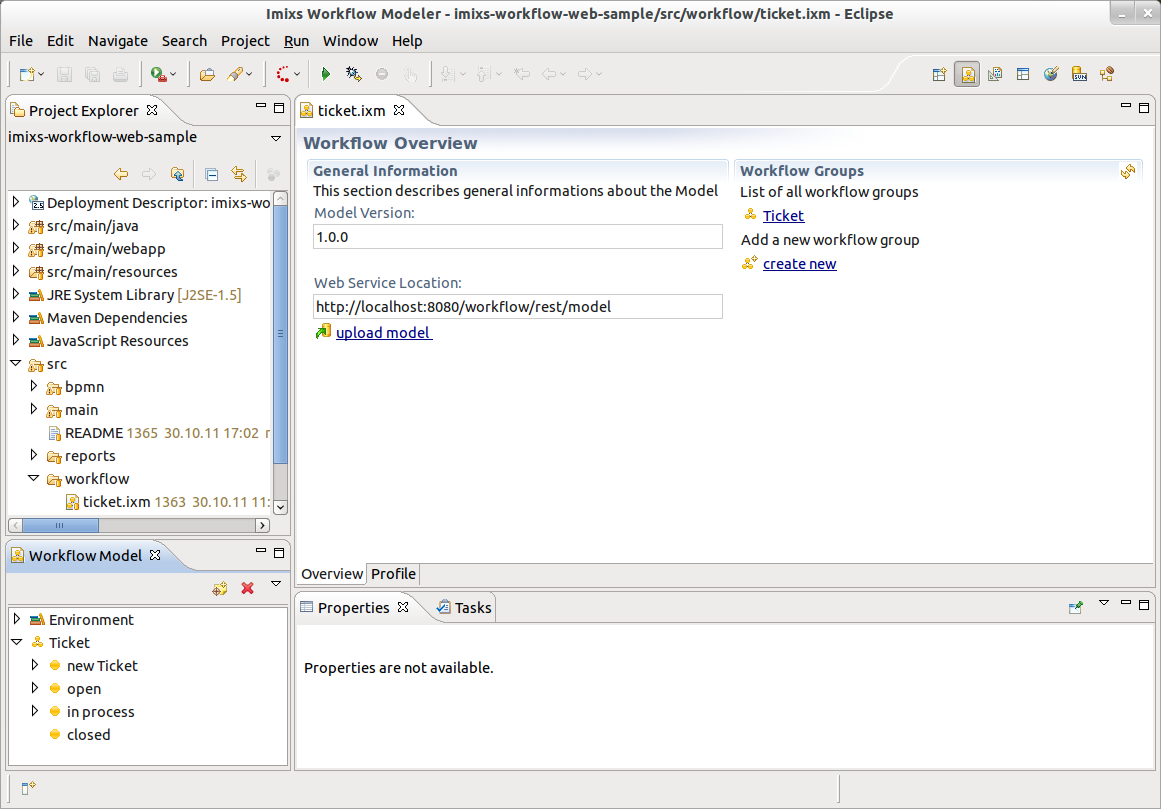
Click the link ‘upload model’ to synchronize the workflow model with your sample application
Congratulations you are finished! Now you are ready to run your Imixs web workflow application!
http://localhost:8080/workflow/
Building a new Application from the sample application
There are different examples how you can develop and build a workflow project based on the Imixs Workflow engine. One of the most easiest ways is to use the Web Sample app as a template for your own project.
Follow these steps to checkout the source code and to build your own application.
CHECKOUT SOURCES
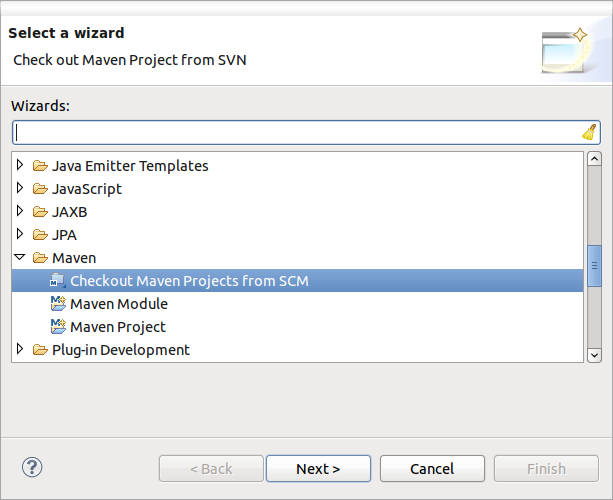
You can checkout the source code from GitHub. With the maven comandline tool or the Eclipse M2E Plugin you can build the application. Using this plugin you can checkout the project directly.
Choose ‘new project -> other’ and select ‘Maven->Checkout Maven Projects from SCM’
Next you can enter the source code location from the Imixs GitHub repository:
https://github.com/imixs/imixs-jsf-example.git
Click ‘Finish’ to checkout the project.
Building the application
Now you can see the project structure. The xhtml pages are located under /src/main/webapp/.
With the help of maven it is easy to build the project. Just select from the context menue the command
Run as -> Maven install
The command will build a new WAR-File which can be found in the /target folder.
Thats it! Now you can modify the application to develop you own business app.
For more details about the deployment, development and configuration see the project site or post your questions on GitHub.